
Monday June 29. The first night in a new, unfamiliar place can be rough. I can’t say I had the best sleep. Even though the foam mattress in Bow Hut was comfortable, it’s just never the same as the comfort of your own bed. I had the top bunk all to myself, but even with the window open all night, I was roasting in the sleeping bag. Like, full on sleeping in a pool of my own sweat type of roasting. It was gross. I awoke to find breakfast ready on the table- pancakes, bacon and coffee. Yamnuska Mountain Adventures certainly had not disappointed with the food thus far!
The day started off drizzling, which was the anticipated forecast. On the agenda: go through the necessary roping and safety skills we needed for the course. First up, knots. Overhand knot, figure 8 follow through, figure 8 on a bight, prussic hitch, oh my. I won’t go through the how-to’s of everything, as the practical component of it is what makes the course. Thank goodness Yamnuska provided a recap sheet to remind us of all the techniques. Then it was on to hiking on snow with ice axe in tow; T-stop anchors and self-arrest; walking on ice with crampons, which requires more technique than I expected; Ice screw anchors; how to rope together as a group; crossing crevasses, and crevasse rescue techniques. Crevasses and deep cracks or fissures in the glacier, and the risk of falling into one is very real. More on how I feel about that later! (Teaser: I don’t feel great.) All in all, so much information to remember and recall. With 4 more days to practice and repeat all of the techniques, surely I’d be an expert in no time, right?
Tuesday June 30. The day began with maps. James convened us in the common room to go over the basics of map reading and navigation. I enjoy looking at maps, but I’ve realized that I know oh so little about navigation and map reading. Clearly I will need to change that. This is a friendly reminder to myself.
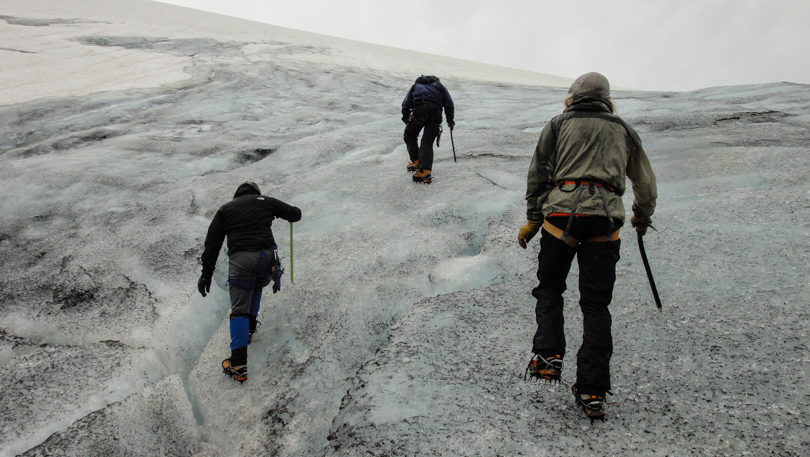
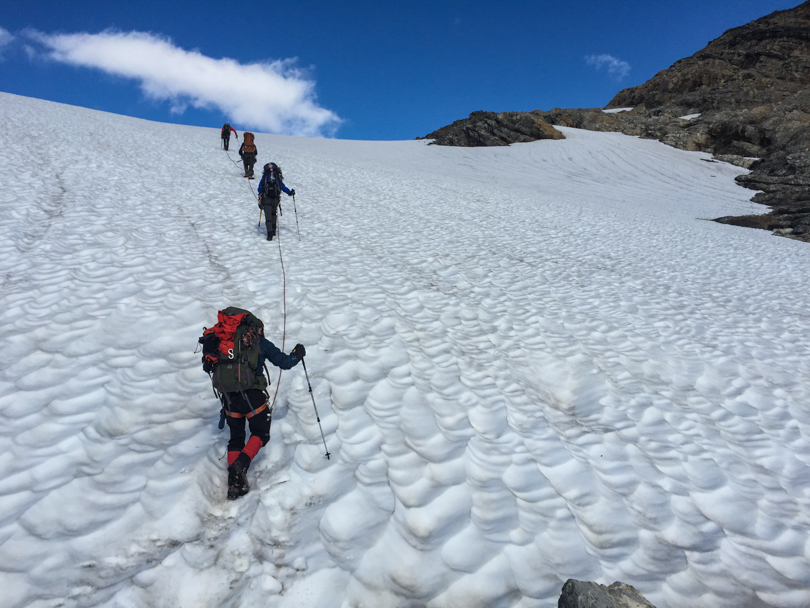
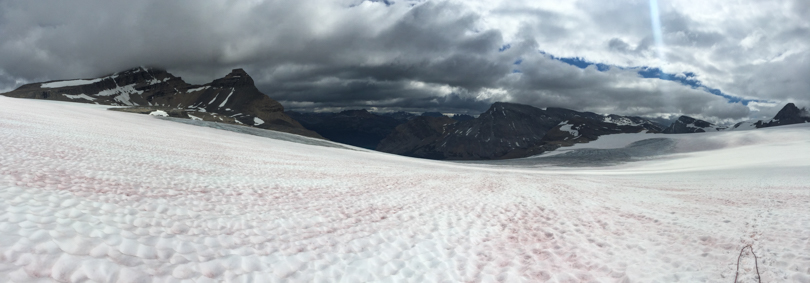
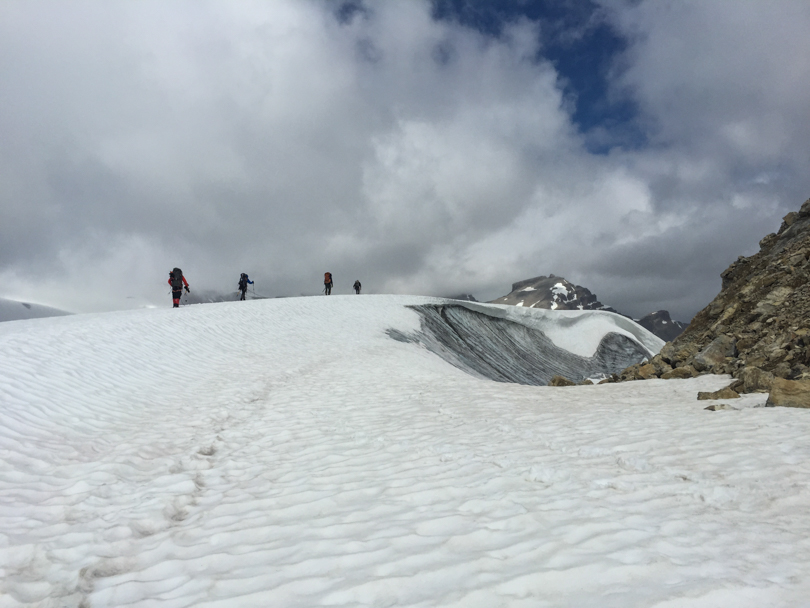
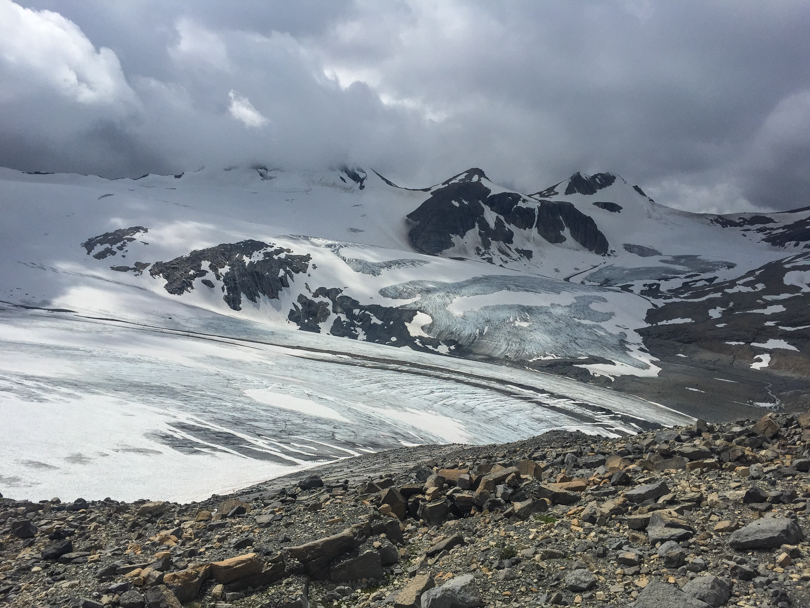
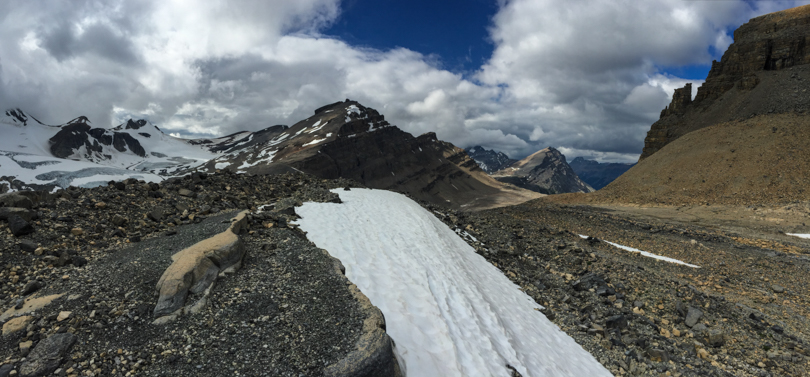
We left Bow Hut and headed toward Peyto Hut. It was going to be a long day traverse of the Wapta Icefield. The team roped together based on the skills we learned the prior day and on we went.
And it was incredible.

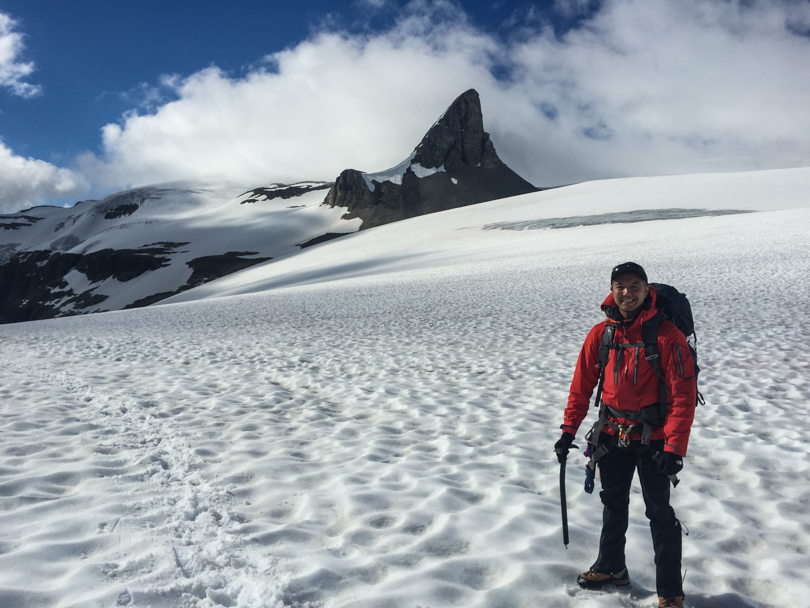
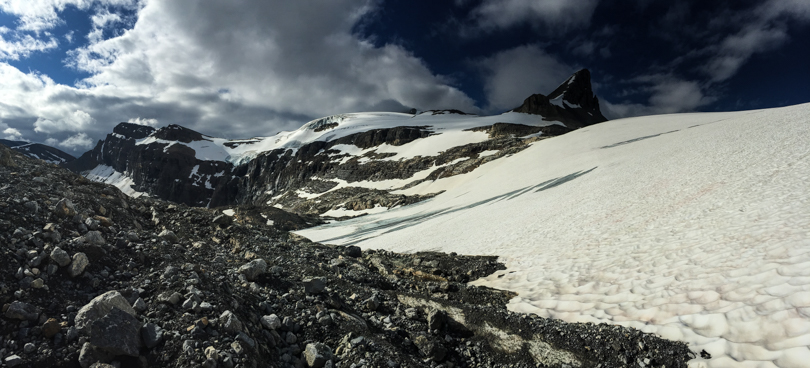
I use that word a lot to describe the mountains, but that’s because it’s true. I never grow tired of seeing them. Mount St. Nicholas, Mount Thompson, Mount Rhondda, and many others casting their shadows as we trekked on by, slogging through the snow, aware of the ice below us.
We stopped at the base of Mount Thompson where we would practice crevasse rescue. James said there’s a moat at the base of the mountain, exposing the side of the thick glacier. It would be the perfect area for instruction and practice. At first we practiced by attaching a backpack to the rope and then throwing it over the edge. That wasn’t so bad, as I was a keen student the day prior. But when it really counted, I messed up. God help anyone who falls into a crevasse on my watch! At one point James attached himself to the end of the rope and lowered himself over the edge and it was my job to get him out. Oh geeze- he probably would have frozen to death if it were real life. I became befuddled with the process and exhausted all of my energy trying to rescue him. This is why crevasse rescue practice is paramount for any mountaineering expedition, and it’s important that all team members are on the same page with their rescue technique. Practice, practice, practice. It wasn’t so bad when I became the victim and slid off over the edge of the ice. Much fun! Thankfully I was rescued in fine form.
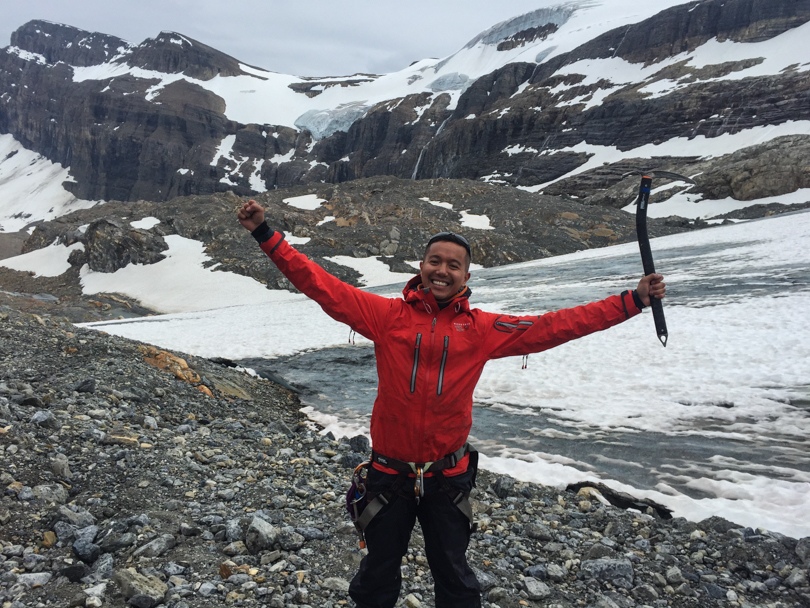
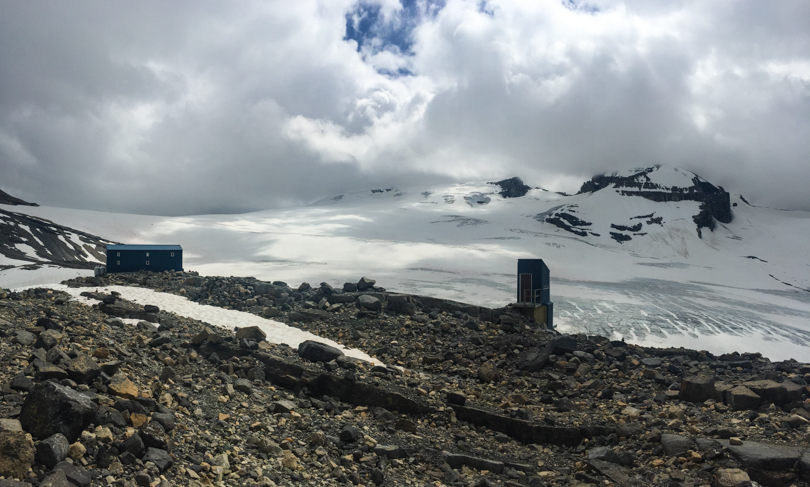
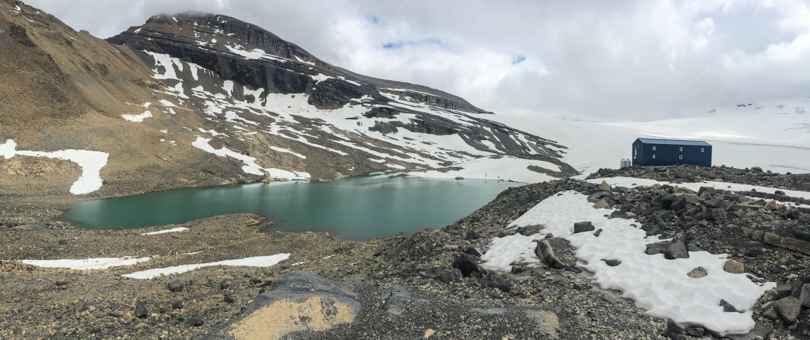
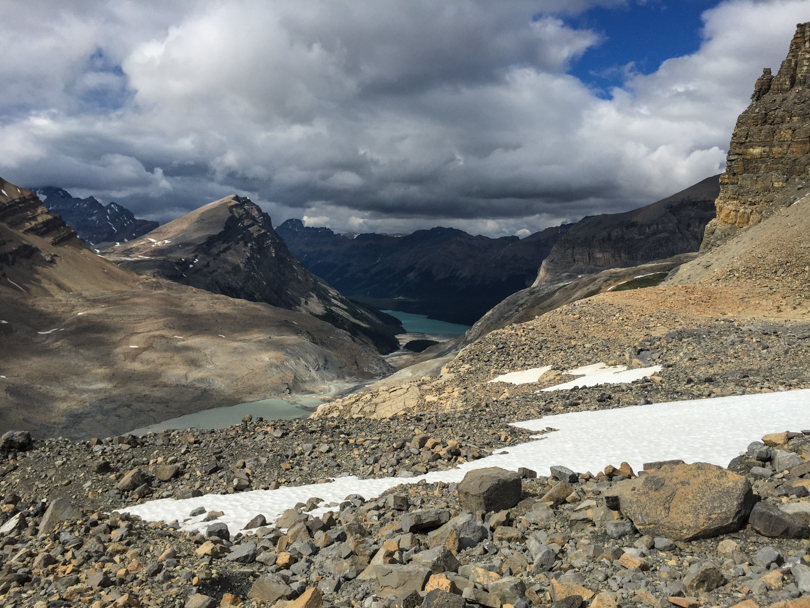
We then descended the glacier to Peyto hut. The warm day had begun melting the snow which resulted in an exhausting, slushy hike. But drudgery aside, one couldn’t help but notice the location of the hut, and oh what a location it was! Perched atop a glacial ridge with a lake a short distance away, the 360-degree unforgettable views did not disappoint. Through the kitchen window, you could see the expansive glacier with snowy Mounts Rhondda and Habel. Walk a short distance from the hut and beautiful Peyto lake in all its turquoise-y goodness comes into view. It’s really a beautiful spot; one you never would know existed while driving along Highway 93.
After the tiring traverse, we would rest up for the evening, for the next day would be the first of two summit climbs!


This whole course looks amazing! How was the breathing with the altitude?
LikeLike
The course was great! And the breathing wasn’t bad at all- I seem to be okay at 3000 metres 🙂
LikeLike